Shoe coloring pages
from an authorized photo
Explore shoe coloring-page ideas with practical photography, outline and palette advice. Learn how to prepare an authorized image and check your print.
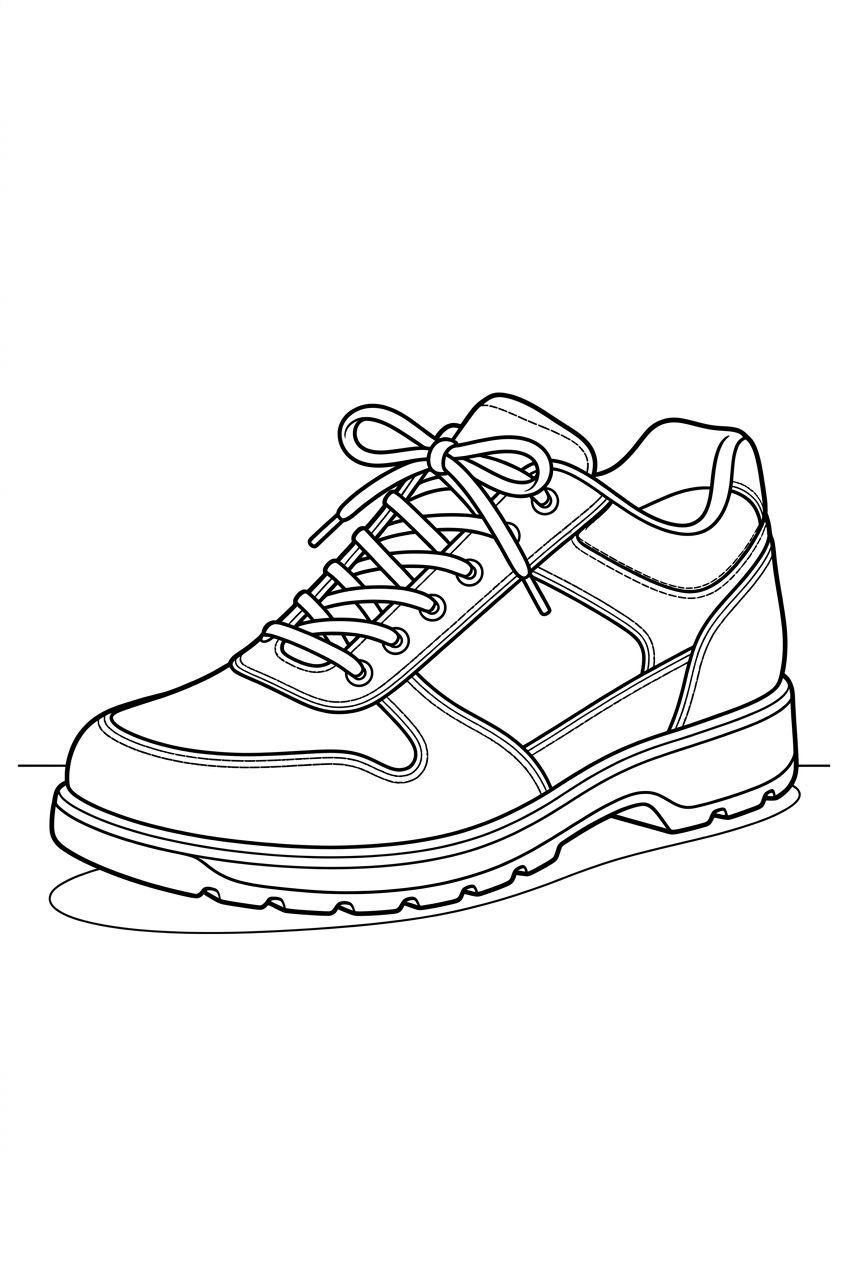
Draw or color this page for personal use. The outline is drawn from a photograph released for this guide. At this size it prints cleanly at A5, and softly at A4 — check one sheet before making copies.
- Sheet
- A4 · 210 × 297 mm
- Resolution
- 848 × 1264 px · ≈ 103 DPI at A4
- Licence
- Personal use · no resale
Free, no sign-in. Downloads stay available while the artwork is published.
Want this from your own photo?
Upload a photo you own and get a clean line drawing at A4, 300 DPI. Three free drafts a day, no card.
Create a coloring pageThe guide
Everything the page needs before you print it.
Prepare your shoe photograph
Photograph a clean shoe from the side or a three-quarter angle with the sole visible. Place laces so they do not obscure the whole upper. Use a plain background and avoid including a person unless you have adult portrait permission. Remove identifiable tags and brand packaging. Check the photograph at its original size before choosing it: the main edges should be visible without sharpening filters. Crop away unnecessary surroundings while retaining the full subject. A clear source gives you a better starting point, but it does not guarantee a particular generated result.
Choose useful shoe outlines
The toe, heel and sole outline explain the shoe. Keep major panels and lace loops, but simplify tiny perforations and tread marks. A clear sole boundary helps separate upper and ground. Do not trace every surface scuff as if it were a construction seam. Think about the page at the size you will actually print, rather than judging only a zoomed screen view. Larger enclosed areas suit a relaxed session; a more detailed outline takes longer to color. Inspect the candidate for missing, doubled or confusing edges before treating it as finished artwork.
Plan a shoe palette
Plan a main upper color, a sole color and one small accent. A pale sole can balance a dark upper, while contrasting laces add interest. Use different shading strength on leather, fabric and rubber only where the source clearly distinguishes those materials. Keep a small swatch beside the page and build color in light layers. The photograph can guide your choices, but you can also make an intentional decorative interpretation. Test your pencils or pens on the same paper first, because paper texture and ink coverage change how colors appear.
Try a focused coloring exercise
Color a small panel with flat fill and a second with a subtle fabric texture. Test the lace color beside both. On the page, finish the large panels before the narrow laces, keeping light gaps that prevent the lace area from becoming a dark knot. Set aside a small practice area instead of experimenting immediately on the most important feature. Pause after the first layer and view the sheet from a normal reading distance. You can leave some areas white; a completed page does not require filling every space or reproducing every photographic shadow.
Check the print and permissions
Inspect the actual downloaded pixel dimensions before printing this shoe page. A4 is 210 by 297 millimeters; a full A4 raster at 300 pixels per inch is approximately 2480 by 3508 pixels. A larger export canvas alone does not prove that the source has that much detail. Use an A4 PDF at its intended page size, check the printer preview for clipping, and test one sheet before making copies. Use your own still-life photograph rather than a commercial product listing image. Use only photographs you own or are explicitly authorized to adapt. Do not upload minors, celebrities, strangers or restricted material.
Questions
Before you print.
Answers written for this guide. If a page still looks wrong at print size, do not print a stack of copies.
Are pairs of shoes harder than one shoe?
They can be when their laces and soles overlap. A single shoe gives clearer panels; a pair works best when each silhouette remains separate and recognizable.
How should I check a shoe page before printing?
Inspect the shoe outline at normal page size for unclear edges and small crowded areas. Check the file’s actual pixel dimensions, use the intended A4 page size when available, and print one test sheet. An enlarged file is not proof of additional original detail.
What is a useful practice exercise before coloring a shoe page?
Color a small panel with flat fill and a second with a subtle fabric texture. Test the lace color beside both. On the page, finish the large panels before the narrow laces, keeping light gaps that prevent the lace area from becoming a dark knot.
Plate 09 — Your turn
Your next bestseller starts as a photo.
Three free drafts, no card. Print files cost credits from the standard tier up.
Create a coloring page